Pages

Saturday, 22 October 2016

Christmas Challenge #38: Kellie Stamps Shaker Ornaments

This month I am a guest creative team member for Kellie Stamps, which of course I am super excited about. This months set Merry Joy is such a perfect set for Christmas crafting, you could do so much with this set and I am especially looking forward to using them in my December Daily album!
It was kind of a perfect match with all the christmas things I am making ;)
 My first project with these stamps was some shaker ornaments! I'm in love with how these turned out! 
What I really love about this stamp set is that I don't have to skate around the winter themed stamps because there aren't any and although it does not have any winter themed stamps it also doesn't have summer ones either which means EVERYONE can use it!
I'm especially fond of the magical stamp, I think it could be quickly becoming one of my favourite stamps!


  So how did I make this shaker ornament..... I used a star shaped nesting die to cut the edges of my star- I had to cut about 10 of them to make the star nice and thick. I cut one of the larger stars and used that as the back. I didn't have any acetate so I completely cheated and laminated a laminate sheet, it has a little bit of a speckled look but it is clear enough and is definitely a more convenient option!

I then stamped the word on the lamented sheet with embossing ink and embossed with white embossing powder. Then adhered it all together putting some sequins and glitter inside! I then added a ribbon to the back. Easy Peasy!
Excuse my gluey hands, that what happens when you are christmas crafting all the time ! ;) 
 Oh, I totally love both merry's, I cant decide between them!
I made them in a few sizes an I think they would make a lovely gift!
You can check out Kellie Stamps Here!

Christmas Challenge #37: Bon Bons/ Christmas Crackers

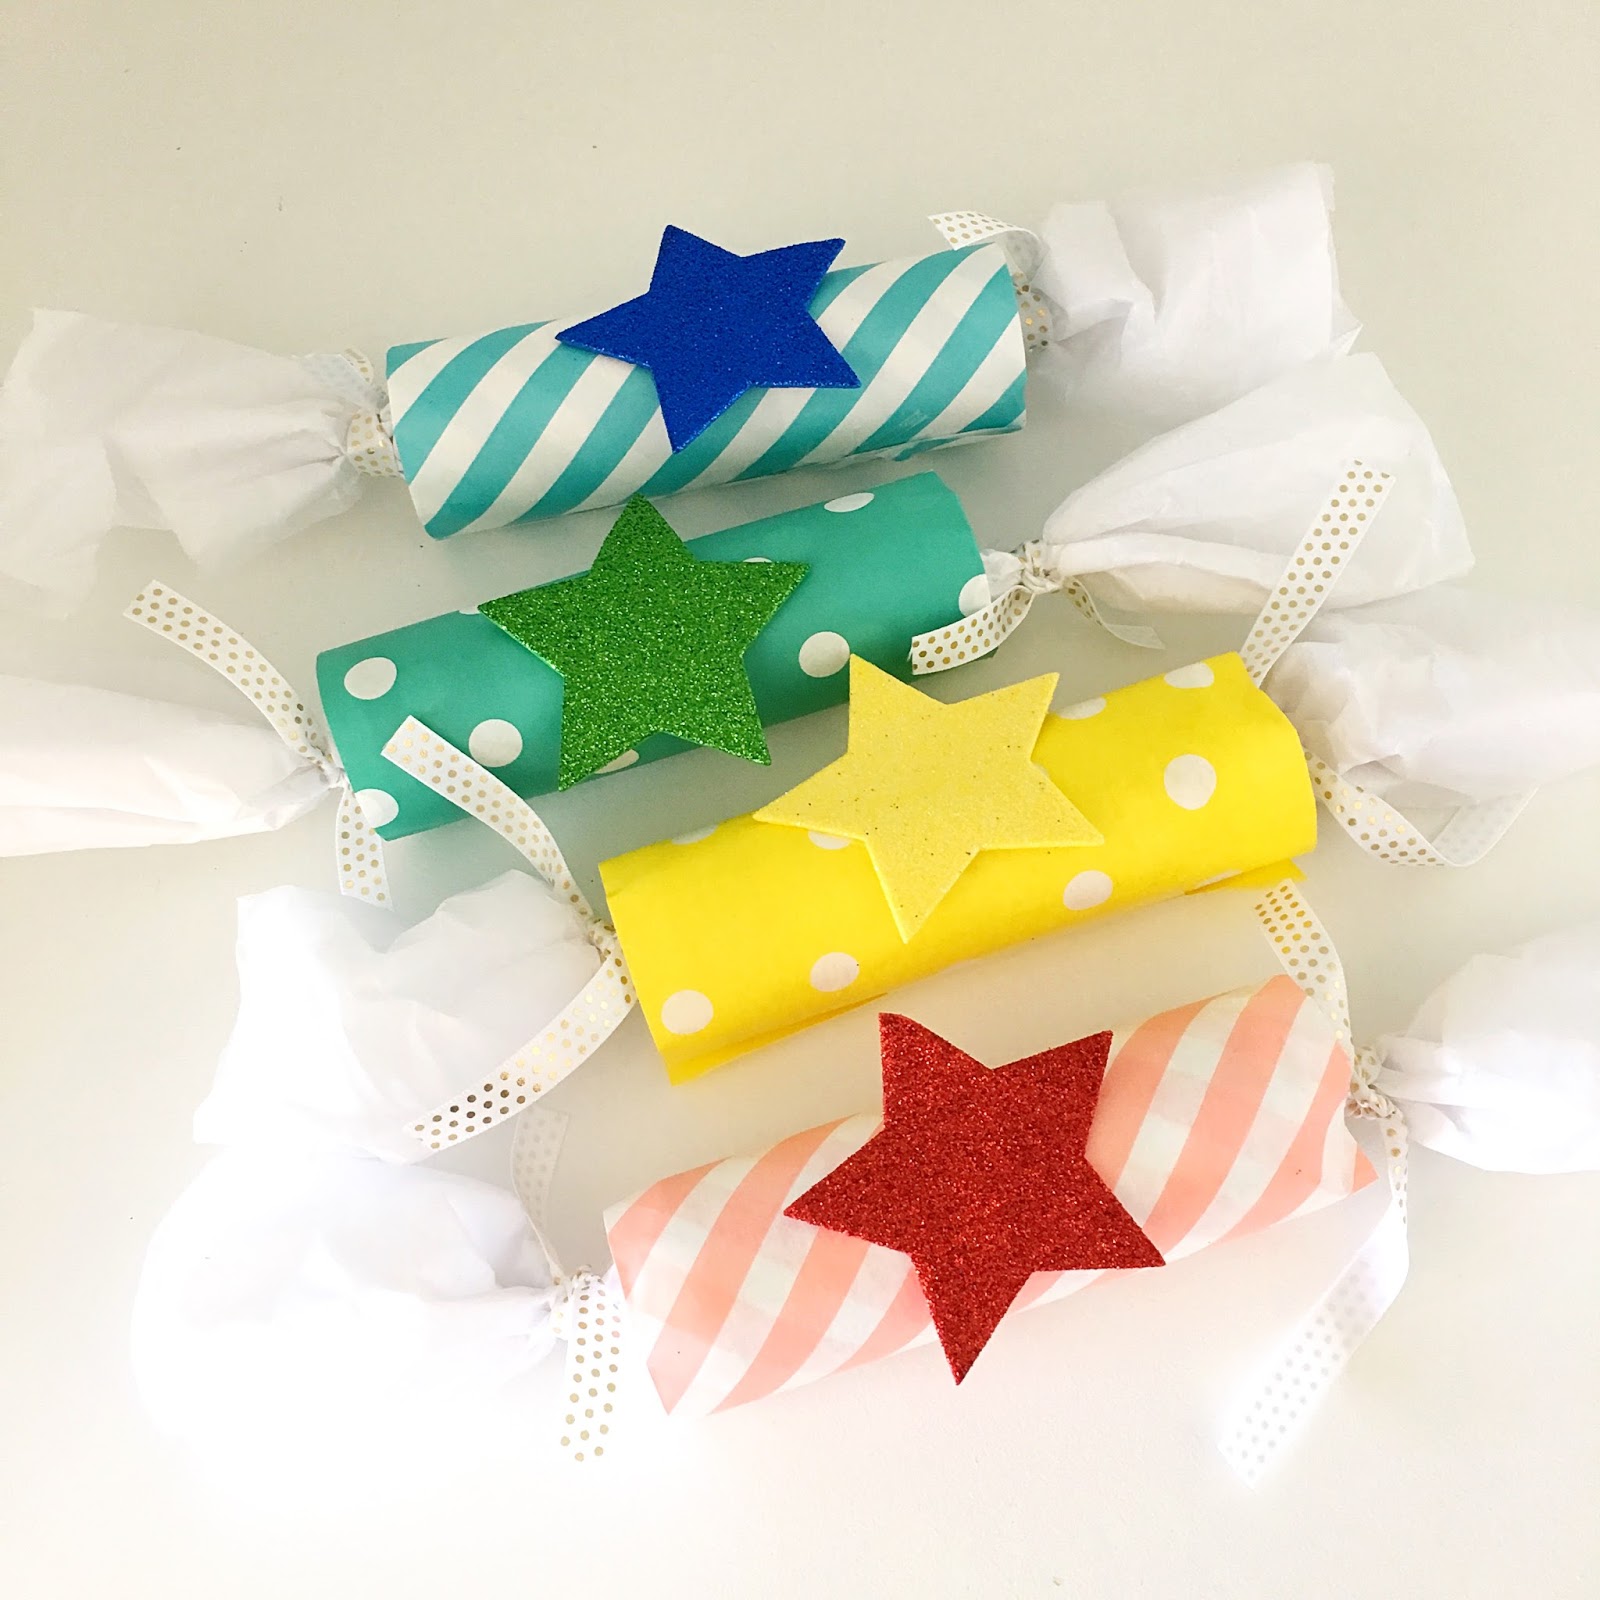
So of course I had to make some bon bons for those christmas crowns to go in! Ive kept them colourful to go with the theme in the room where we will be eating christmas day lunch.
I tend to keep the contents of our bon bons fairly simple, really we have christmas morning with all of its gifts so by the time it comes to christmas cracker time I don't think it needs to be elaborate.

I simply added: a small chocolate, a christmas joke that I found on the internet, a balloon and the crowns I made!

Sunday, 9 October 2016

Christmas Challenge #36: Christmas Crowns

This year, well actually I end up making bon bons every year but last year was the first year that I made crowns for inside the bonbons. Last year we made them very similar out of tissue paper and they worked out really well. I was a little hesitant about making them out of tissue paper but they ended up lasting better than the ones you get inside of bought bon bons.
 I simply cut a bunch of stars and some zig zaggy white tissue paper and then measured my kids. Then just sticky taped them together and glued on the star.
These are super dooper cheap to make, you could even uses some recycled tissue paper from a gift, what a fun way to use things up!
 And seriously who wears the crowns in bon bons for more than one Christmas meal, my kids do especially love seeing grown ups wear them though!

Monster Puppet Making!

 Yesterday was my sons birthday and one of his biggest requests mostly because he is a huge fan of Mister Maker was that he wanted to make something at his party.
 He really didn't care what he made he just wanted to make something. So I decided that we would make monster puppets.
 I bought a 10 pack of felt and sewed up a bunch of puppets ready to go and then with the left over felt I cut circles, triangles, stars, and other shapes and popped them in my tupperware container with some pom poms, stickers and googly eyes. I also popped some decent fast drying glue and scissors on the table.
Some of the little ones needed a little help putting the glue on but other than that they all had fun coming up with their own creations!
I cant decide which one is my favourite, but a tummy full of eyes does seem pretty great ;)

Saturday, 8 October 2016

A Pocket Letter!

I recently sent off this pocket letter all the way to Italy and now that it has arrived I can share it here!
 I used all Cocoa Vanilla papers in each pocket, these papers all had black and white patterns on the back so I left them to shine by themselves. I used cut files from coco vanilla and cut two of each and slipped them into the pockets so that they could be taken out and used.
 I added tassels and ribbon to the top hole in the protector, I love how this turned out.
 I added a few things on top of the protector including some colourful enamel dots and gold tiny words and white tiny words also from cocoa vanilla.
I added a flower, wood veneer, heart stickers, bamboo label stickers and a little package of punched gold shapes. Pocket letters are such fun to make!

Sunday, 2 October 2016

Spring Wreath.

I've been a little absent here in September, I had a lot of changes going on in our little home including my husband working from home quite a bit and my boys being sick. Its been quite an adjustment for me and though I love having them all here it has made my normal routines a bit of a mess.
Anyway there has still been crafting happening here! There is always crafting happening here!
I have this white wreath hanging on my door since christmas and I had thought that it would be a lovely wreath to be able to change up with the seasons. Since it is spring here I wanted to add some colourful flowers and make it look happy and bright.
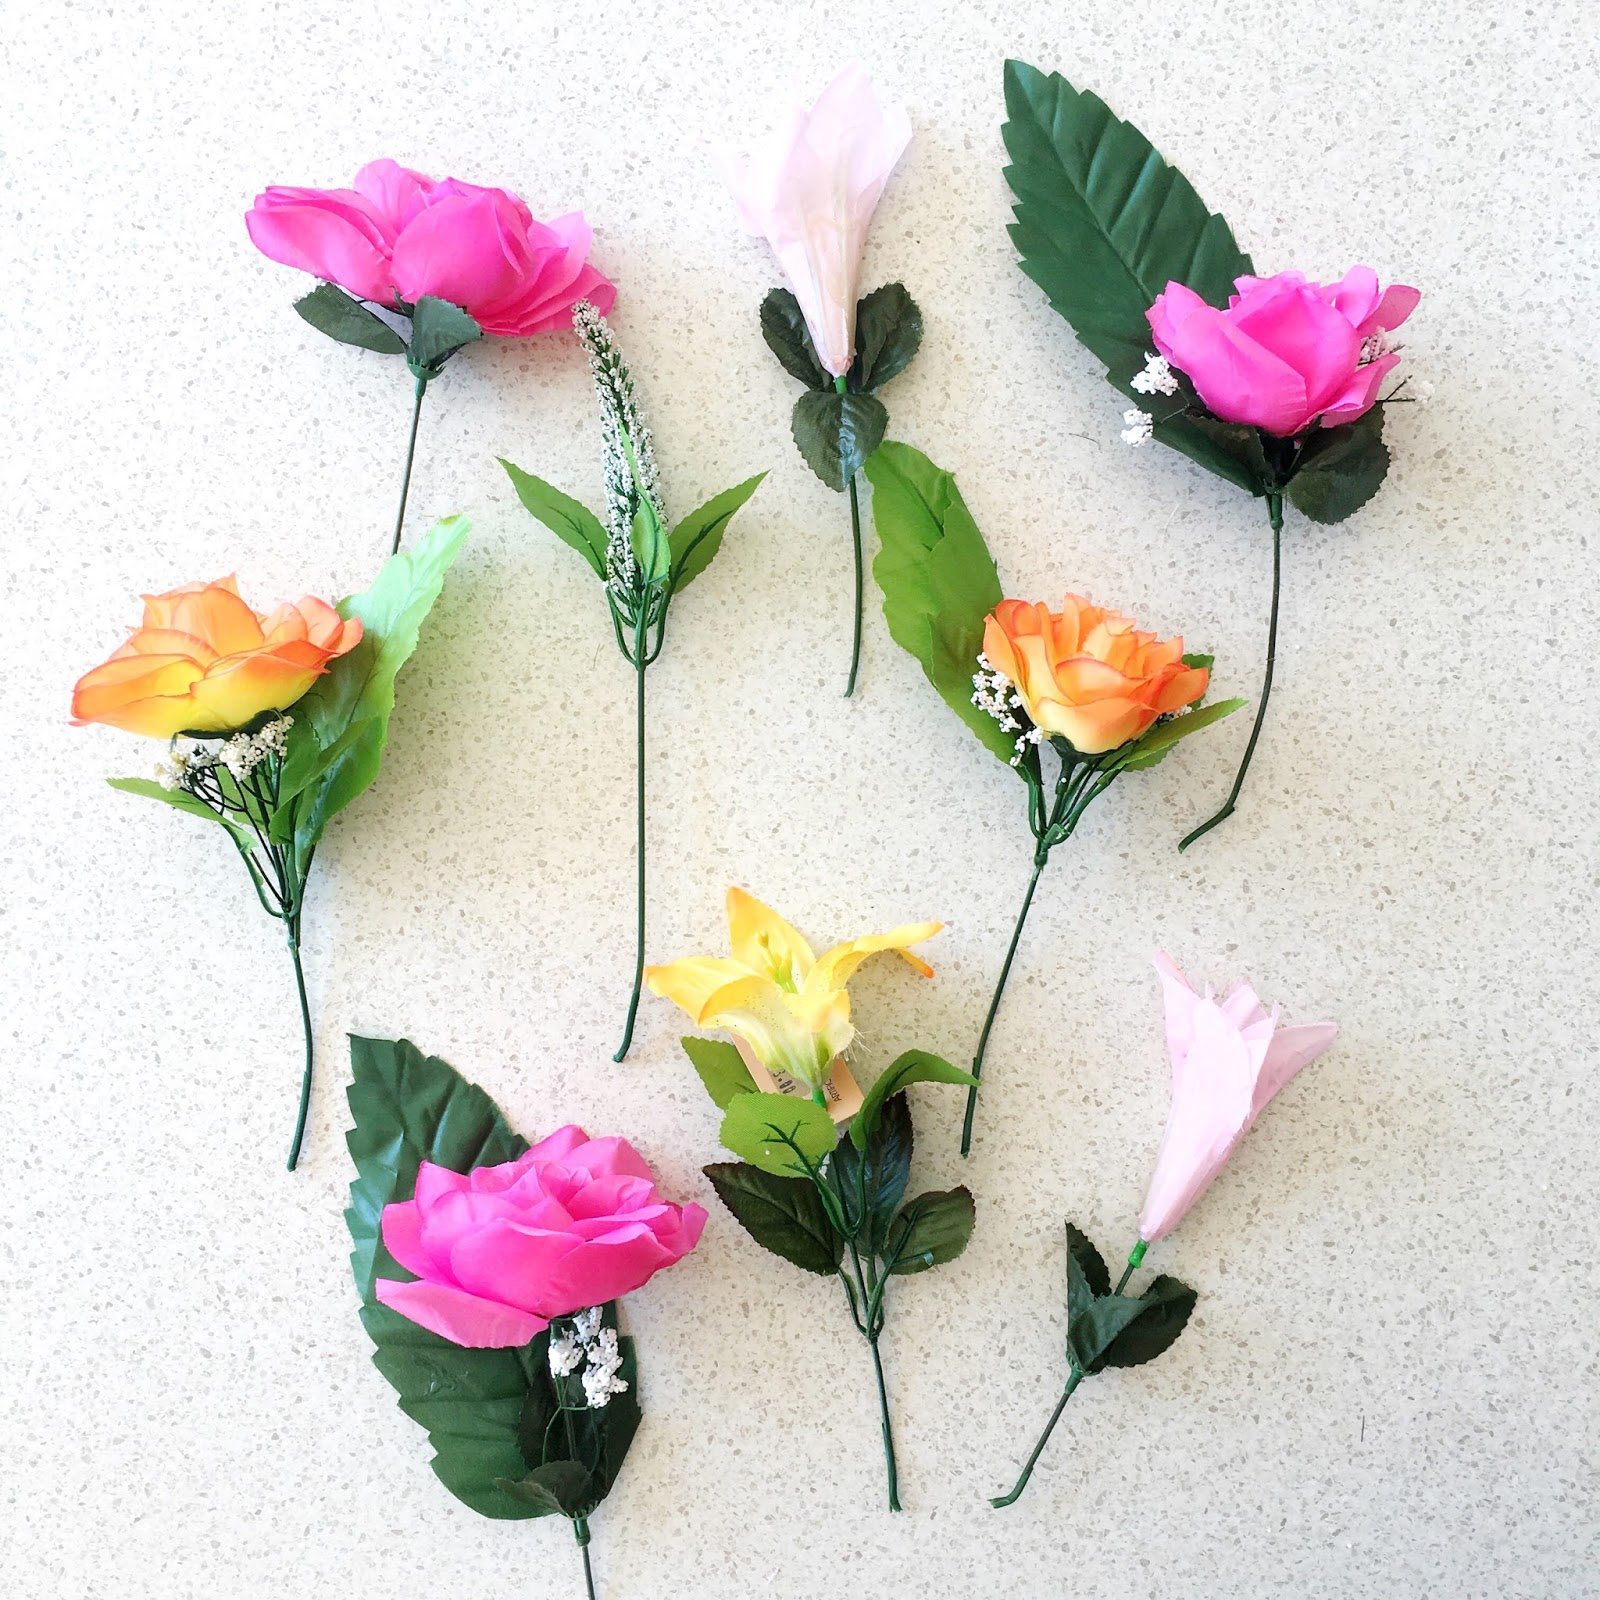
I simply bought a couple of cheap bunches of flowers from the cheap store and  pulled them apart by twisting the wire until I broke the stems apart. I have my pretty scissors here but I didn't end up using them because I didn't want to ruin them, some snippy pliers (very technical term, ha haa) would be much better but as I said I ended up just twisting them until the wire broke off.
Then I simply wound the flowers into the wreath. I guess I could have hot glued them but I want to be able to change this up for christmas so winding them in means that I will be able to pull them out and it has been enough to keep them put.
 This was a fun project and was finished in about 10 minutes and then hung straight back up on my front door.
 For just a few dollars I have a pretty colourful wreath, springy and happy. Especially nice since it hasn't stopped bucketing down here and we have had storms and flooding in little old south Australia ;)


Monday, 19 September 2016

Christmas Challenge #35: Felt Angel

I have a long list of christmassy things that I want to make and one of the hardest parts is deciding which one next. So I decided to make some little felt angels. I've been waiting to make felt things with faces (instead of more stars or hearts) for a while now but whenever I try to make them I struggle with their faces- they always end up looking silly so I bought some little black eyes online hoping that this would help me be able to create some little people.
I think these eyes may have turned out to be a little big though, but since I have a little pile of them now I guess I will just have to go with it!
I'd really love to make some Santa's and Elves and reindeer but I think I will see how I go!