Pages

Showing posts with label Mamie Made. Show all posts

Wednesday, 4 May 2016

Make It Christmas: The Plan

Last year I created a challenge for myself to create 180 ornaments and honestly I thought I would completely fail, I thought that I wouldn't be able to keep up with it and I thought that I would totally flop! but some how I managed to make it the year and create 180 ornaments to go on the tree, funnily enough I ended up having a real tree for the first time and I ended up using only about half of what I made because I wanted the tree to be the star! Never fear they will be treasured for years to come. 

A Christmas Pinata that I made for some little people in my life
This year I wanted to create a new challenge for myself but after creating 180 ornaments I was ready for a break from thinking about Christmas. I have been spending a lot of time seriously thinking about Christmas for the last two years. Obviously I am quite passionate about it! I've analysed why I love it so much and why I love to make things for Christmas, why I love to make it such a special time. And it boils down to this: the feeling of love in my home and in my heart is so magical and so special that It is worth all that I do to create it. I want the people around me to feel that love that is shared and have special memories from it.

Christmas Eve Dinner table all set
Creating that magical feeling brings  me so so much joy!

The truth is that I can not create that feeling overnight, it is almost impossible to create it if you leave it till the month of December. When I organize and create everything prior to the season I find that December becomes so much more enjoyable, it takes that horrible sting out of Christmas that everyone else is complaining about and opens up a beautiful stretch of days where my family and I can enjoy each other, where my children's excitement is growing, intentional love fills the space between my husband and I and we have an inviting place to spend time with family and friends.
Our Hall table with a reindeer I drew
 My favorite thing to give is something handmade, making something from an idea to something tangible feels amazing! And I'm not saying that I make all of my gifts-most of them are bought but adding some extra love with some pretty gift wrapping or a card or tag, its all those little things that really add up for me.
My kids Advent Calendar
And so I decided that I would like to go on an adventure this year and really bring all the things I've been thinking about together. So I am Challenging myself to create one Christmas thing a week until Christmas and share it right here every week.There are  about 34 weeks left, I'm hoping to do 38 things.I have lots of ideas and hopefully some inspiration. 
I  really hope you'll come with me on my adventure and I hope that I can make it!!

Thursday, 11 February 2016

Mamie Made: A Valentines Box

I had planned to make some fun crafty valentines things but somehow time got away from me. I did recently make this sweet little heart box that I thought would make a cute gift with some chocolate or something inside
 It was simply made from a cereal box and some hot glue. Then I just added some crape paper and some gold hearts from freckled fawn and letter stickers from American crafts to decorate it.

 Some chocolates or biscuits would be the perfect thing to put inside.
I hope my recipient likes it!

Saturday, 30 January 2016

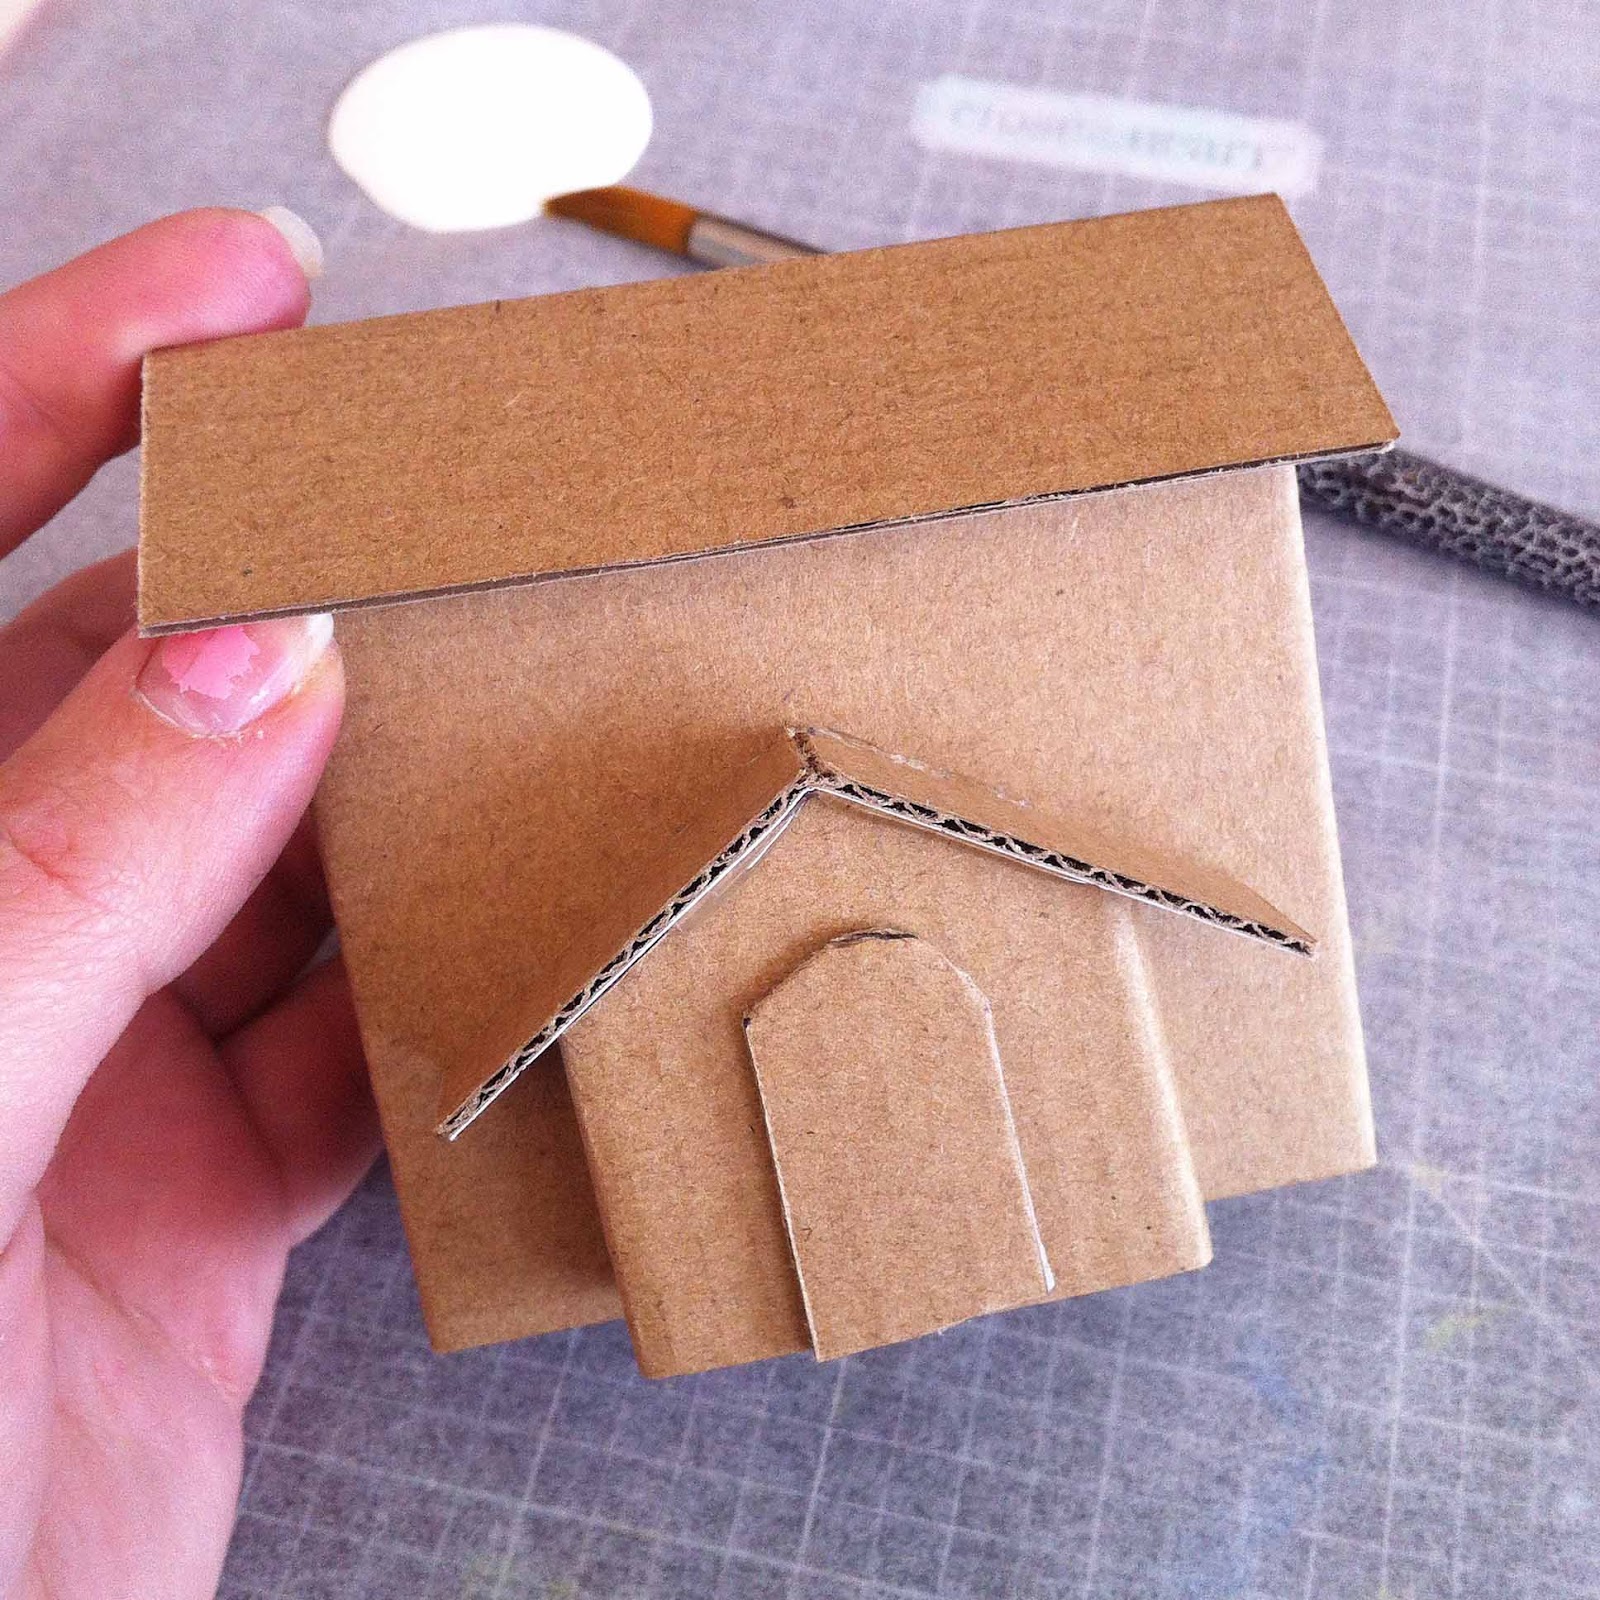
A Little House

There has been some snail mail leaving this home lately. I bought this little house and painted it for my lovely pen pal as a little housewarming gift. (Hey Sara!!)
 I just had to add polka dots and lace.
 It can hold some keys inside and can be hung up with a little hook that is on the back.
I love simple little projects like this and I hope my lovely pen pal liked it.

Thursday, 30 July 2015

Mamie Made Christmas: Getting Started

The last few months here have been a lot of fun crafting and there has been a lot of dreaming. Unfortunately my computer hasn't really been  up to the task of recording it all, I really need a new one but oh well it will have to wait! So while I have been away from the computer I have been thinking and planning for Christmas. What else is a girl to do in a freezing cold Australian winter??
 All this cold weather has inspired me to create a kind of winter wonderland village in my family room this Christmas. So I have begun lots of planning and lots of making so that I'm all organised to create a magical room come  Christmas time.This kind of thing takes lots of time so its great to be getting an early relaxed start on it!
 So far I have made a starry mobile to hang over our dining table and a wintery village to sit on the table directly under the starry mobile. I have also been thinking that some lights would look lovely hanging from the mobile too, we will see how we go. I am planning on buying lots of lights this year so I guess we will have to see how far the lights budget can stretch ;-)
As I finish each thing I have been popping them away with our Christmas decorations, I am hoping that when I pull them all out on decoration day I will surprise myself with how much I've done and also keeping a little bit of mystery so that when my boys see it all there will be an element of wonder for them!

Tuesday, 9 June 2015

Mamie Made Stamps

I've recently been making my own little stamps, of course I was inspired by some lovely pictures on pinterest of beautifully carved stamps.
 I have done some lino cutting courses so I thought I would get out my old tools and give it a go.
When I went to find them of course I couldn't, so I bought some new ones. They are relatively cheap I think these three cost about $16 (find them here)and the rubber to make the stamps were $18(find that here) for an A4 piece or about $8 for a 10x10cm piece.  
 The only other things you'll need if you'd like to try our making your own stamps are a ruler, a stanley knife, a pen, a cutting mat (or a chopping board) and some stamping ink, which you can pick up cheaply at a news agent. If you have ever done any lino cutting you will find this much easier, the rubber is not as firm as lino so it is very easy to carve.
I've had fun carving tea cups, houses, envelopes and even some words but just remember if you carve words that you will need to carve them backwards so that they stamp the right way.
I am hoping to make lots more fun stamps to use for snail mail and cards.
Here is some from Pinterest that inspired me!

Tuesday, 2 June 2015

Pictures from May

This May...
 There were presents wrapped
 There was chrysanthemums enjoyed
 There was some with tea.
 There was some reading of this lovely snail mail book by Michelle Mackintosh.
 There was a m and m covered birthday cake for my hubby.
 There was a game of mouse trap
 There was some sailing.
 There was some yummy food
And there was tea, always tea. 
It was especially nice in a pink sweetheart cup.

Wednesday, 20 May 2015

The Evolution of Stars

I did happen to get super behind with my 180 ornaments I feel like it was mostly because I got stuck on March's stars.
I had really wanted to add in another colour but nothing really seemed to work or feel just right.
 I finally ended up making these plain stars and for now I am happy with them.
 I am still catching up with April's ornaments, I am nearly there with three to go. 
 Then I will be able to get a good go at getting Mays ornaments done before June arrives, although the months feel like they are whizzing by!

Monday, 30 March 2015

Snail Mail Outgoing

I've been dying to share some snail mail that I sent, mostly because I had so much fun making it and it turned out how I had imagined it (a rare occurrence)!
 I purchased a mail box and painted the inside of it with a few coats of blue and white paint. I added some cute Easter bunting with Washi tape.
 I wrote a letter and stapled it inside of this card that I had made last year, I finally had someone to give it to!
 I made a bunny softie I am making a few more too.
 I added in some little eggs for my pen pals little one.Of course there had to be some polka dots in there!
 I also popped in a bunny jar. When I wrapped this one up it didn't fit so I ended up putting a different one in.
I wrapped everything up in tissue paper and sent it off. I love mailing snail mail that has a theme, ahh so much fun!!!!
My lovely pen pal has made me so many lovely things I must share them here soon!!!
Have you sent any Easter Snail Mail??

Sunday, 29 March 2015

Easter Series: Make a Table Center Peice

I'm terrible with table center pieces, I always forget them for any type of occasion. I always dream of having amazing bunches of gorgeous flowers in the middle of my table but well it never really ends up happening. 
 So this Easter I thought I would make a simple center piece that I could make with things I already have. At the moment I have a circular mobile hanging over the table so I thought a circular center piece made sense.I already had this pink metal container from Ikea so I began with that.
 I cut some bunnies from gold glitter paper and hot glued some sticks to them. Cut a circle from cardboard and then used that to cut some fake grass. I stuffed the container with some newspaper and then layered the cardboard then the grass on top then skewered the bunnies through the grass and used some hot glue to hold the bunnies in place.
 I then added some wool bows to the bunnies and some ribbon and wool to the outside of the container. Lastly I just had to add these cute polka dot gold caramel eggs! Though I won't be able to leave them in there my boys will eat them!
 I really like the idea of having a low center piece so that people can talk over it and still see each other. This was another quick make that really didn't take long and add a little extra to my Easter table!

Saturday, 28 March 2015

Easter Series: Make a Door Bunny

Instead of an Easter wreath for my front door I thought it would be cute to hang a bunny on my door.
 Somehow I only managed to get a few photos from the beginning stages of making the bunny but I think you could make a similar one from the pictures
 To make my bunny I used:
a large cardboard box
a texta to draw
a craft knife
hot glue gun
paint
felt 
and a handmade paper flower
 I cut extra pieces of cardboard for the ears, eyes, nose. I've used felt on the nose ears and feet and then used paint to create the eyes and mouth
 I've hot glued the the pieces on to the bunny and hot glued the head onto the body and also hot glued some string on the back so that I could tie the bunny onto the door.
 It came together pretty quickly, I think there is still plenty of time to make one for your door. You could decorate the bunny how ever you like, it would be cute with a bow or even make a boy bunny and put a bow tie on him.
I think I might make some eater bunting to go under the bunny to add a little more cuteness to my door!

Thursday, 19 February 2015

Mamie Made: Dish Cloths

I have been in desperate need of  a few new dishcloths, I only have one at the moment and refuse to buy them, but have been using it far too long. I love handmade ones much better they seem to clean better and don't get stinky. I had been wanting to get my hands on some sugar n cream cotton but it seem to keep falling to the bottom of the list (and I'm supposed to be spending less lol)
                                    
Well two things happened at the same time, I found myself wandering the isles of spotlight and there they had yarn on sale, that was it! I bought yellow and pink! Then I saw on One crafty Mummas blog this post, about making a dish cloth a week and trying out some new patterns and I am defiantly one to get myself into a crotchet rut because I am hopeless at reading patterns (and recipes for that matter!) I am a much more visual person.
Anyway I went straight to my pinterest boards and dug up this pattern from One Dog Woof that I had been wanting to make. It is for a coaster so I simply kept crocheting to make the circle bigger and... hip hip hooray I now have two simple and colourful dish cloths and another on my hook. I will be getting myself some lovely yarn very soon but until I am happy with these!
Are you planning any crafting for the weekend?

Tuesday, 10 February 2015

Mamie Made: a Valentines Wreath

 Have you ever thought about adding a valentines wreath to your front door at this time of year? I know here down under you don't generally see this type of thing. In my small town I must be known as the crafty freak who decorates her door because NOBODY decorates for anything here, well if it brings someone a smile them I am happy to do it!
 So I began with a pizza sized box, the kind of box that you get happy scrapbooking mail in and drew a large heart on it, then a smaller heart inside. I cut it out simply with a box cutter.
 Then adhered fabric to the heart, you could do this with lots of different types of adhesive, I ended up securing it with some hot glue and a staple here and there, I was originally going to do some stitching on the heart that's why I used the double sided tape, I changed my mind and so just finished it off with a little hot glue.
 I added simple hand made flowers that are some cute patty pans(cupcake liners) cut them down a little and stapled them on to some card and cut out a flower shape then stapled a few pieces of circle shaped tissue paper  and fluffed them up. Also I added a few green patty pans folded in half to make a leaf shape to give the wreath a little more pop.
 The flowers were adhered to the front with some more hot glue, oh I love hot glue it makes making so easy! I attached some wool to the back with some more staples (I'm also in love with my tiny attacher lol!) and then tied it onto my front door. I'm a loving a pop of polka dot on my front door it always makes me smile when I get home.
Now to go add some valentines happiness to the rest of my house!